
There’s something a little magical about English Paper Piecing.
It’s slow. It’s quiet. It’s incredibly precise—but also forgiving in a way that machine piecing sometimes isn’t. And whether you’re stitching on the couch, in the car, or tucked into a corner at a quilt retreat, EPP has this way of making time feel… softer.
If you’ve been curious about getting started, this is your sign. Let’s walk through the basics, my favorite supplies, and a couple of tutorials I absolutely love.
What is English Paper Piecing?
At its core, English Paper Piecing (EPP) is a method of wrapping fabric around paper shapes (usually hexagons, diamonds, or other geometric forms), and then hand-stitching them together.
The paper acts as a stabilizer, giving you crisp edges and perfect points—no guessing, no stretching, no slipping.
It’s precise… but also incredibly portable and beginner-friendly.
Let’s Start Here: Watch the Basics
Before we dive into tools and techniques, I highly recommend watching this beginner-friendly walkthrough video I created with Sherri McConnel of A Quilting Life:
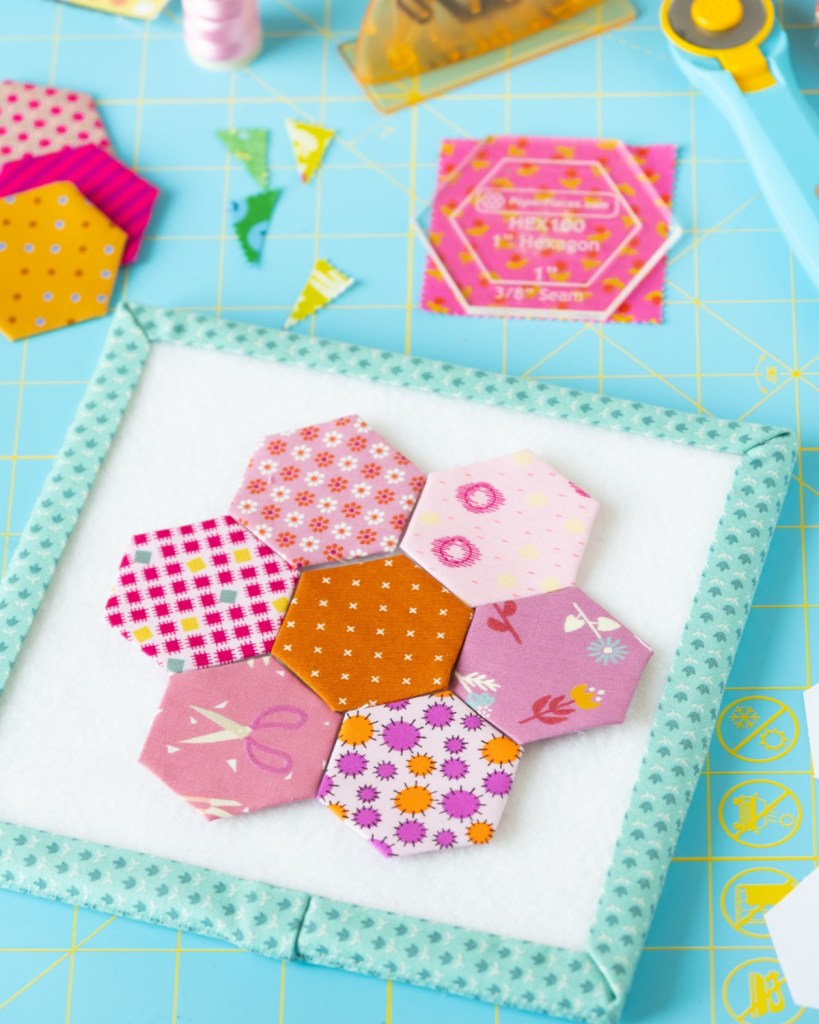
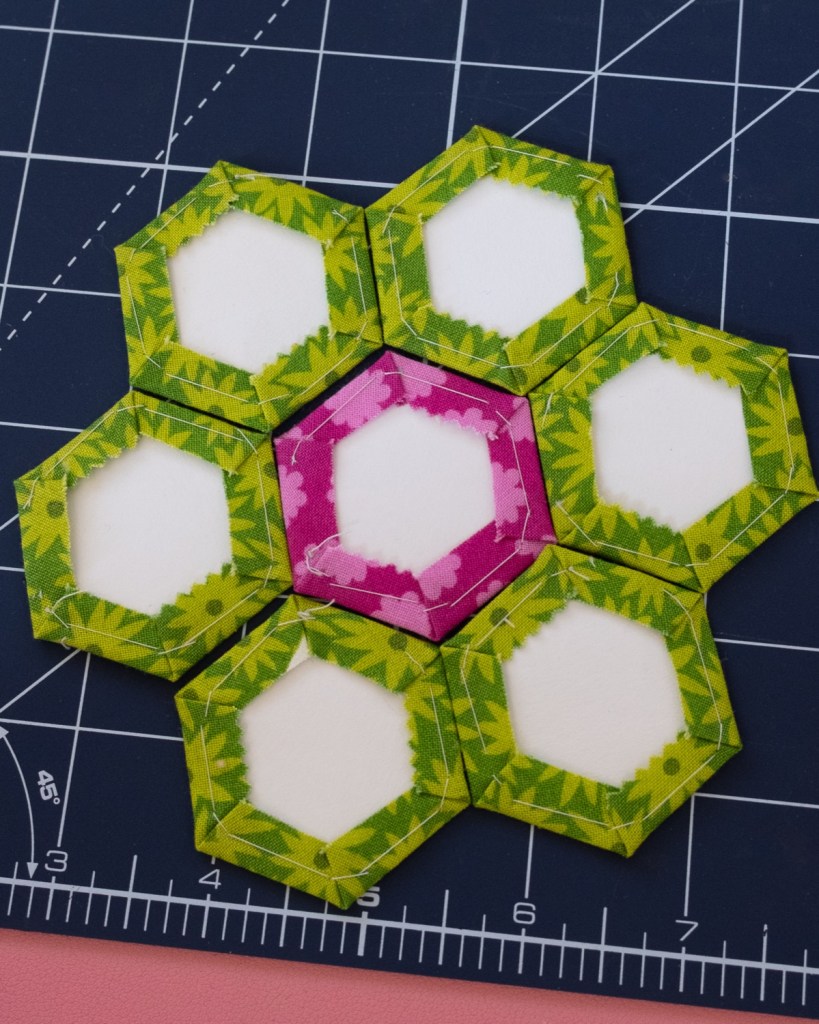
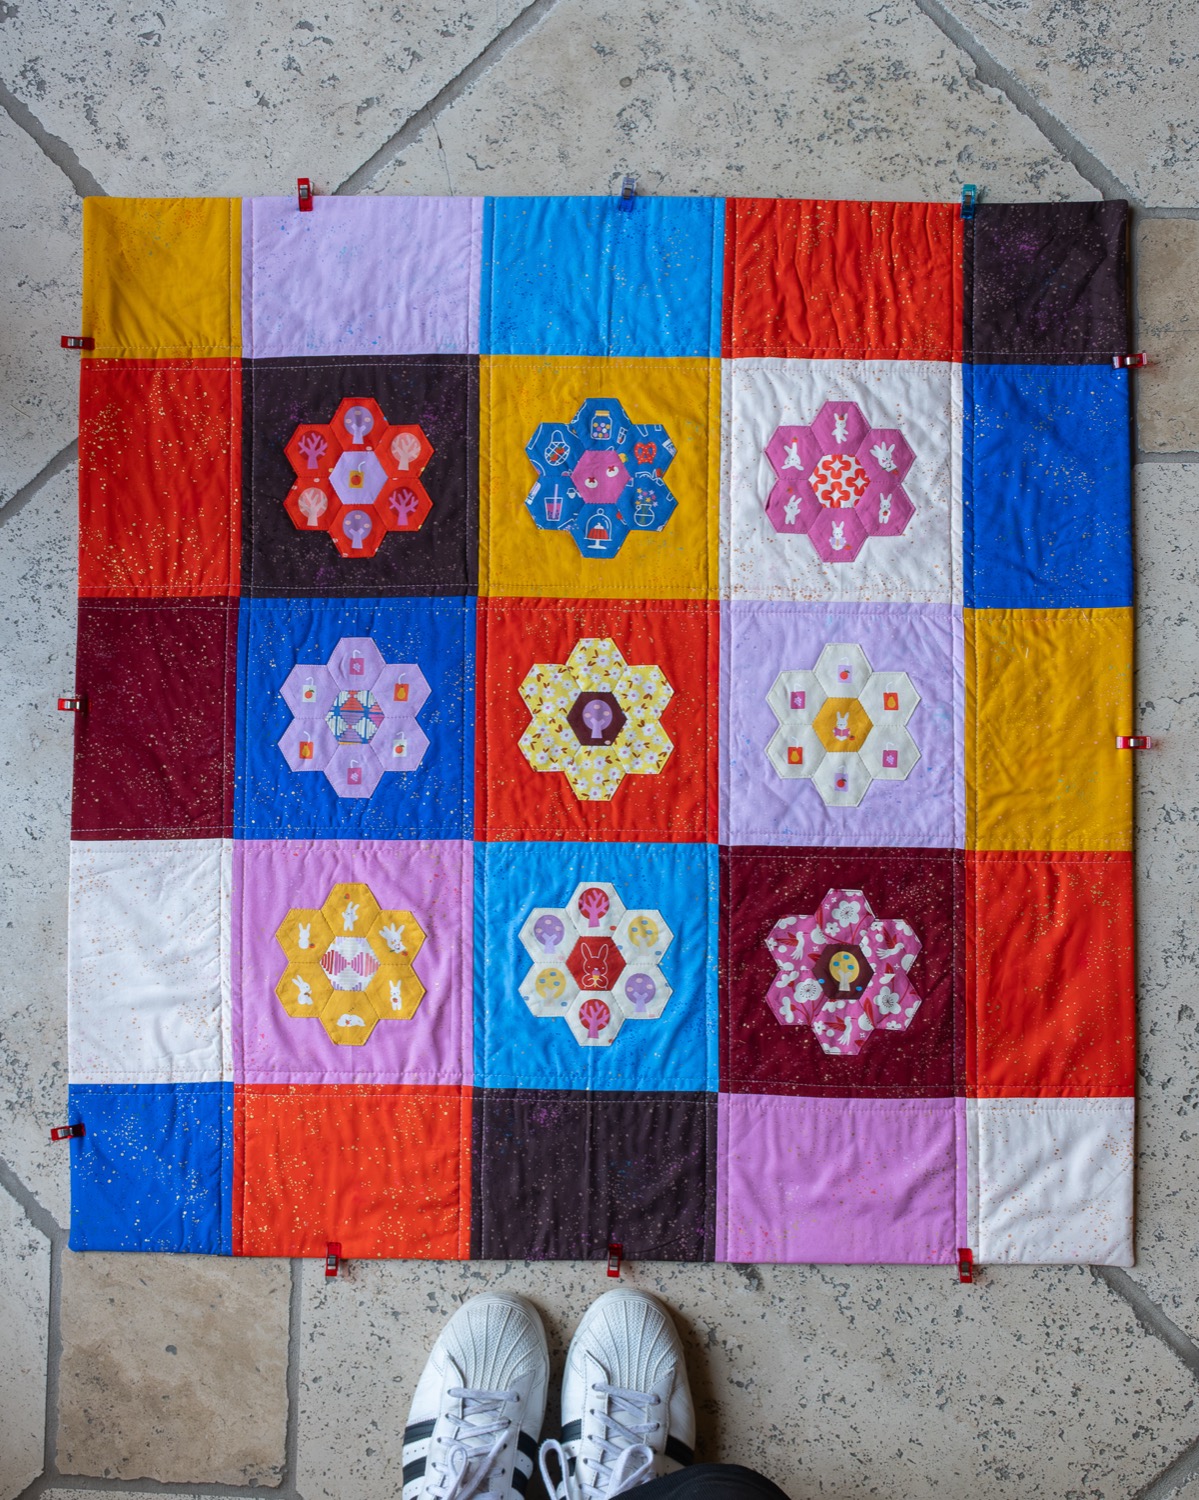
This is a great place to see the rhythm of EPP. How to thread baste EPP and how to join the pieces together to create a hexie flower.
My Favorite EPP Supplies
You truly don’t need much to get started—but having the right tools makes everything smoother (and honestly, more enjoyable).
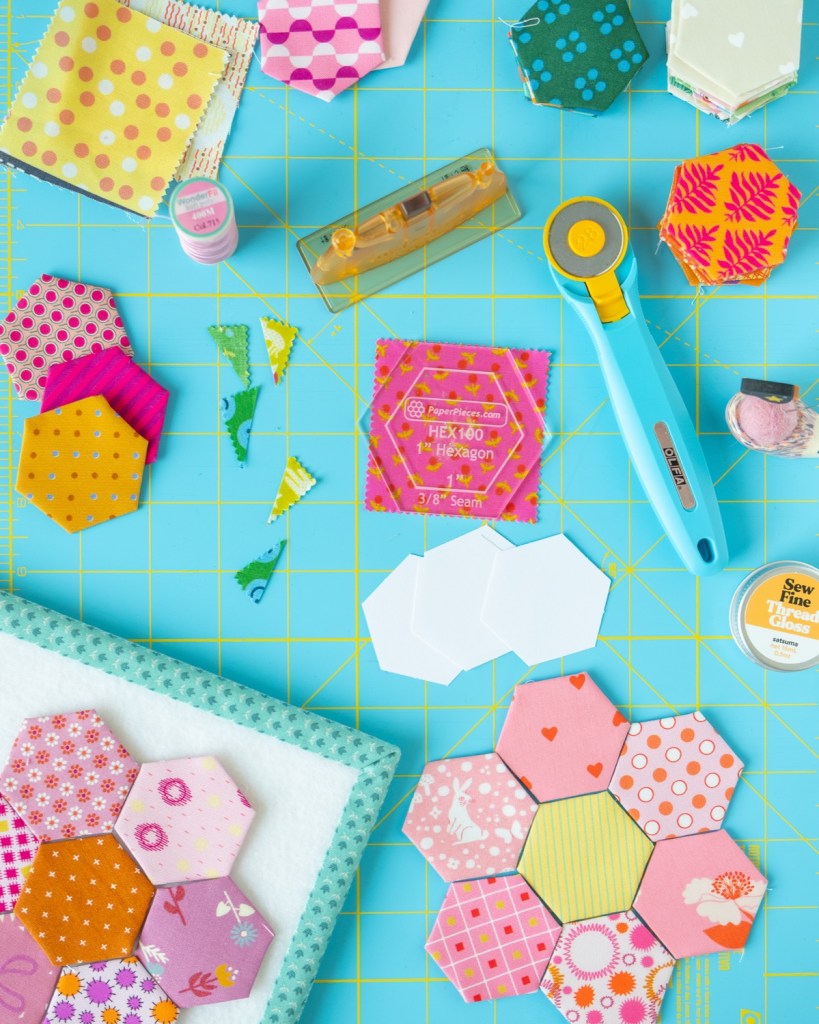
Here are my go-to favorites:
Needles & Thread
- Bohin Needle Threader – tiny, mighty, and saves your sanity
- Jen Kingwell Size 10 or 11 Needles – fine, sharp, and perfect for handwork
- WonderFil Threads
- Their standard cotton thread is lovely to work with
- Their ultra-fine 100 wt thread (InvisaFil) is incredible for nearly invisible stitches
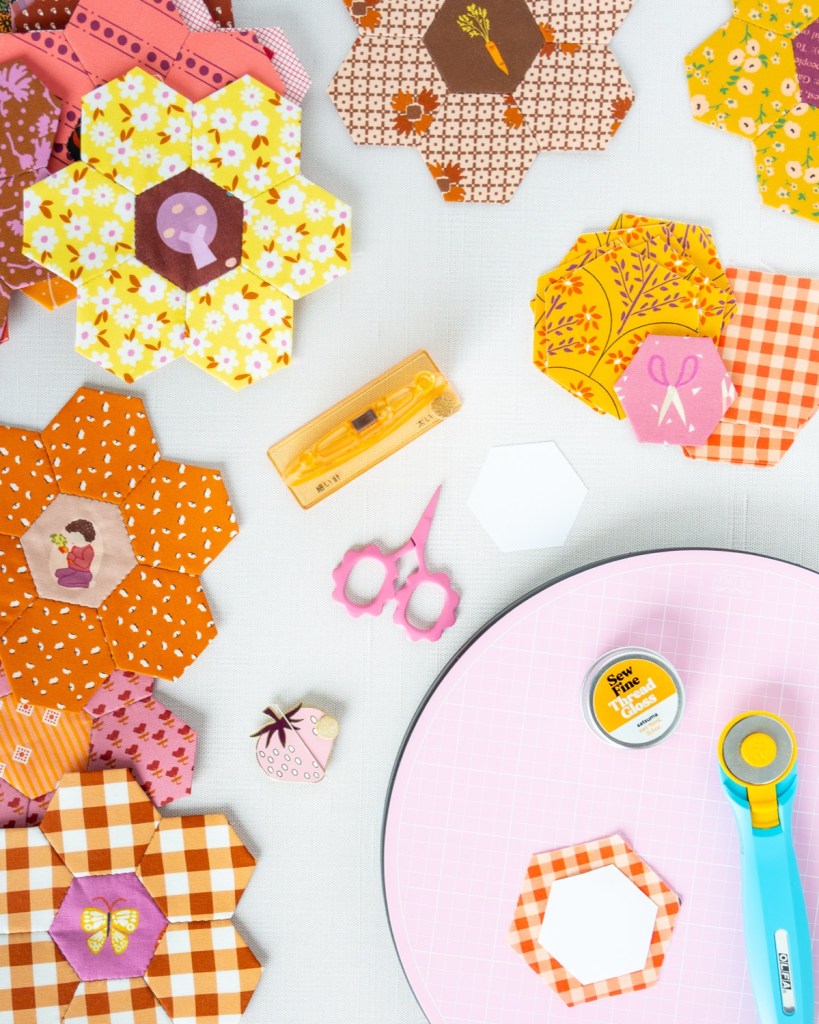
- SewFine Thread Gloss – I love love love this stuff. It keeps your thread from getting mangled and tangly. I use it for basting and joining pieces!
- Needle Minder – The cuter the better! I always prefer to have a safe place to set my needle so it doesn’t get lost in whatever chair or sofa I am sitting on!
Papers & Templates
- Paper Pieces Papers – perfectly cut and super consistent. I would start with 1″ hexies! They are the most common size.
- Acrylic Templates (to match your papers) – makes cutting fabric faster and more accurate also available on the Paper Pieces website linked above!
Other Notions and Helpful Items
- OLFA 28 MM Rotary Cutter – ideal for trimming around templates
- Omnigrid Rotating Cutting Mat – a total game changer for trimming angles and small shapes
- Sewline Glue Pen – You will only need this if you plan on glue basting. Sewlines are my favorite! Elmer’s Glue Sticks work very well also they are just a bit fat. However, much more cost effective and easier to come by.
- Charm Packs and Jelly Rolls are amazing precuts to use for 1″ Hexies.
Organization & Stitching Setup
- Lori Holt Design Boards – I use these constantly to keep pieces organized
- Hemline Gold Quilters Multi Mat – perfect for travel or a compact stitching setup
Basting: Thread vs. Glue
This is where EPP gets a little personal—everyone has a preference.
My Method: Thread Basting
I am a thread baster through and through. I use the “Corner Catching” method.
I like the control, I like that I’m not introducing adhesives, and I’ve just built the muscle memory over time. I use a simple corner-catching method to secure the fabric around the paper, and it works beautifully.
This tutorial is great because it shows you the corner catching method (Sherri also shows you in the tutorial above) but it also has a fun Hexie project idea and free pattern to go with it!
It’s a little slower up front as a beginner (I am SUPER fast now)—but very satisfying and I think there is a time savings in the end when its time to remove the paper! They just pop right out and you can press the papers and reuse them again and again.
The Alternative: Glue Basting
A lot of quilters prefer glue basting because it’s faster and a bit more beginner-friendly when you’re first starting out. I glue baste larger shapes almost every time. Big tip here is to go lightly with the glue–you don’t want to fight with using way too much glue at the end.

If you want to try that method, this tutorial I created with Jessie Lathrom (@insidethepaperbox) for Moda Fabrics is fantastic:
Glue basting uses a fabric-safe glue (usually a glue pen) to hold the fabric in place instead of stitches. It’s quick, clean, and especially helpful if you’re making a lot of shapes at once.
Stitching It All Together
Once your shapes are basted, you’ll whip stitch them together along the edges.
The goal? Tiny, consistent stitches that are nearly invisible from the front.
This is where that fine needle + fine thread combo really shines. You can see a demonstration of joining Hexie units in any of the video tutorials linked above–they all show that part of the process.
And here’s the secret: Don’t stress about perfection. Your stitches will get better fast.
Why You’ll Fall in Love with EPP
- It’s incredibly portable
- It’s beginner-friendly but never boring
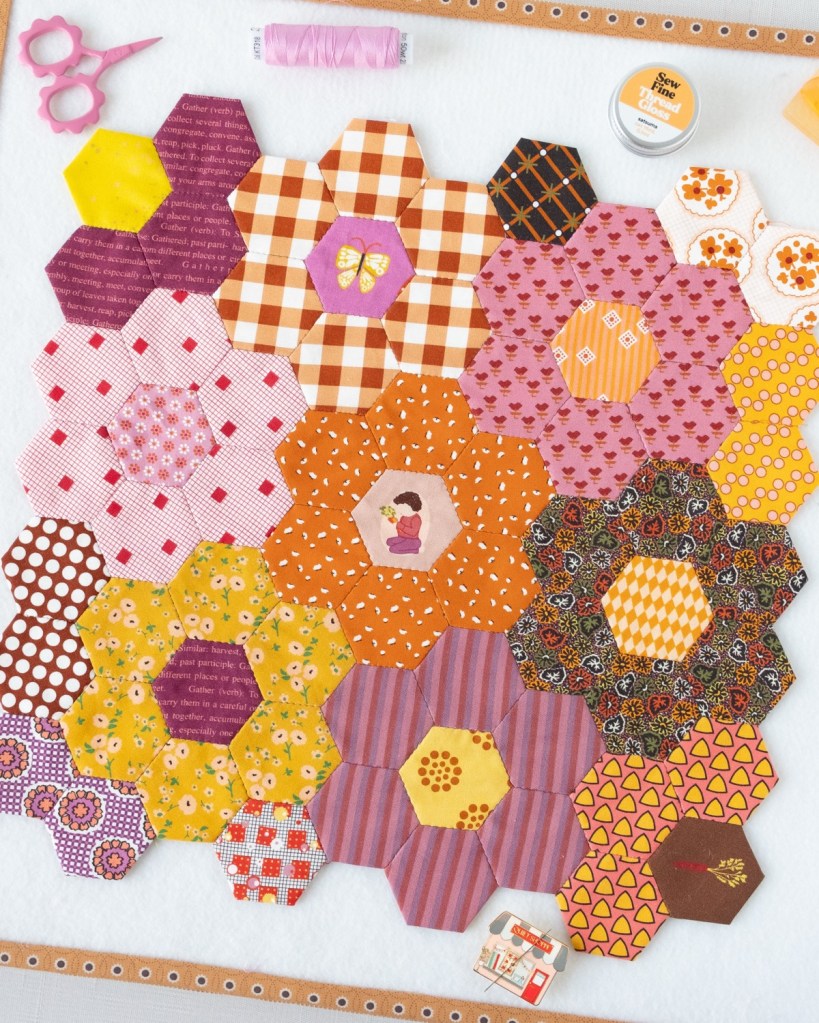
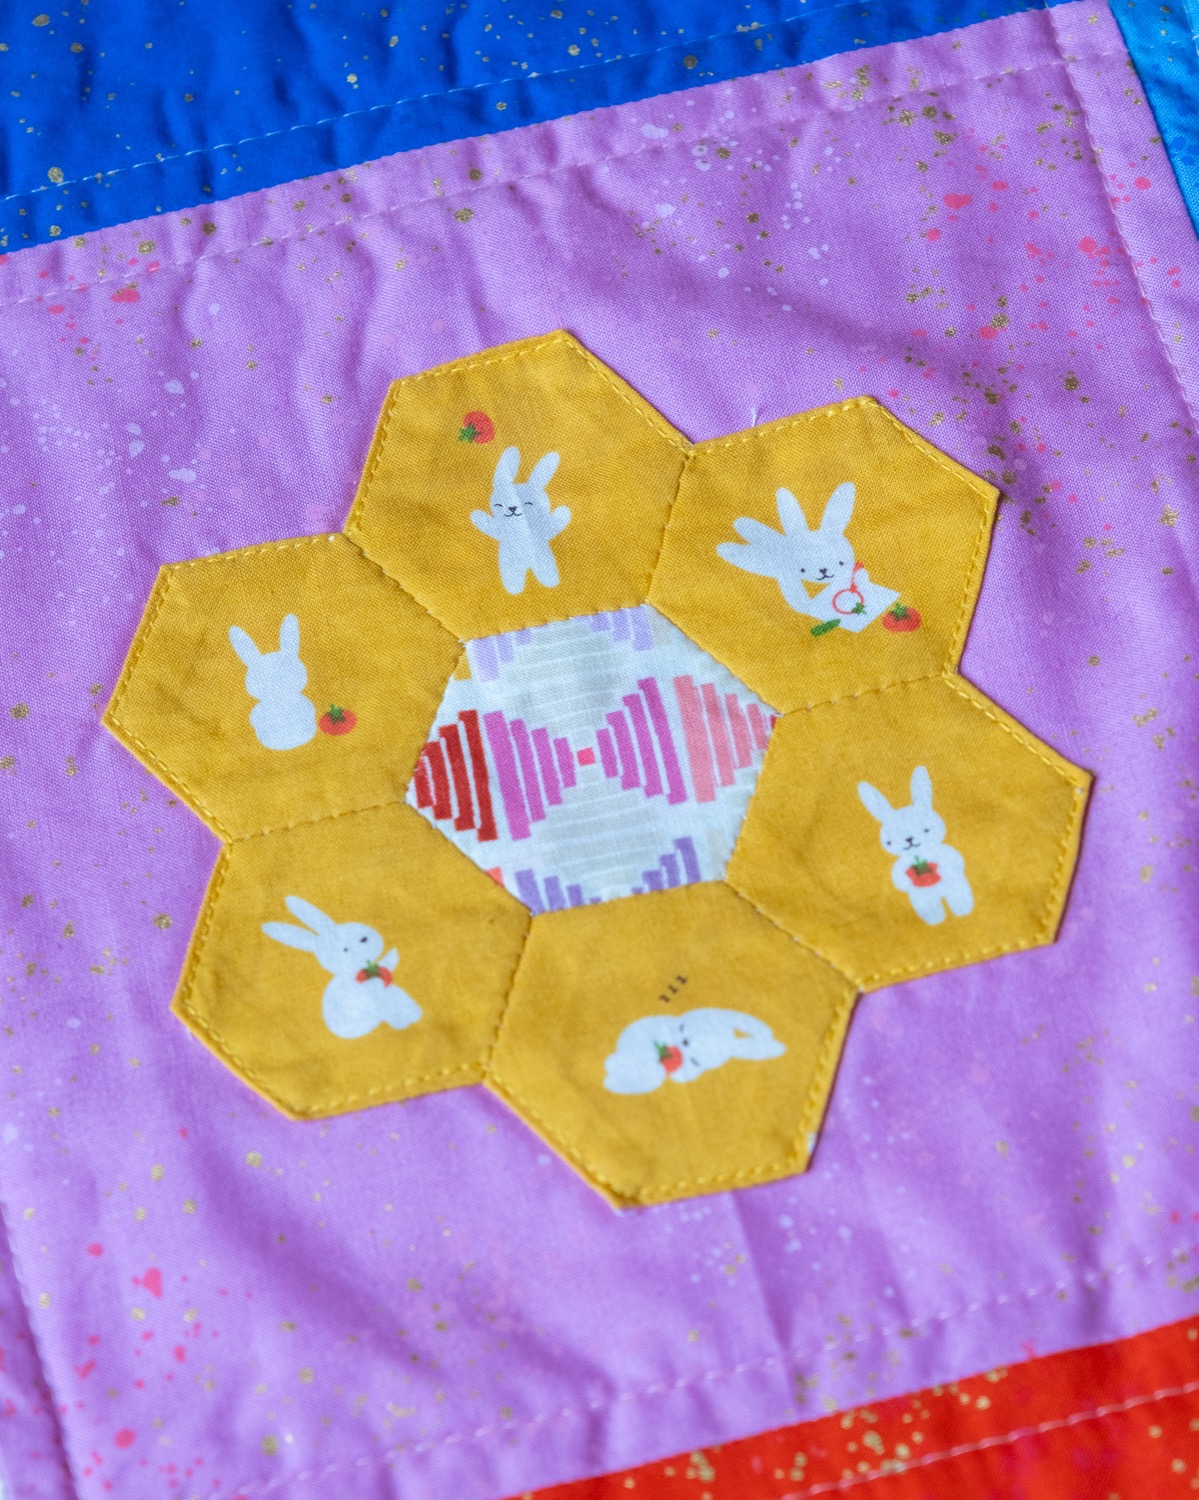
- It’s perfect for scraps and fussy cutting
- It slows you down in the best way
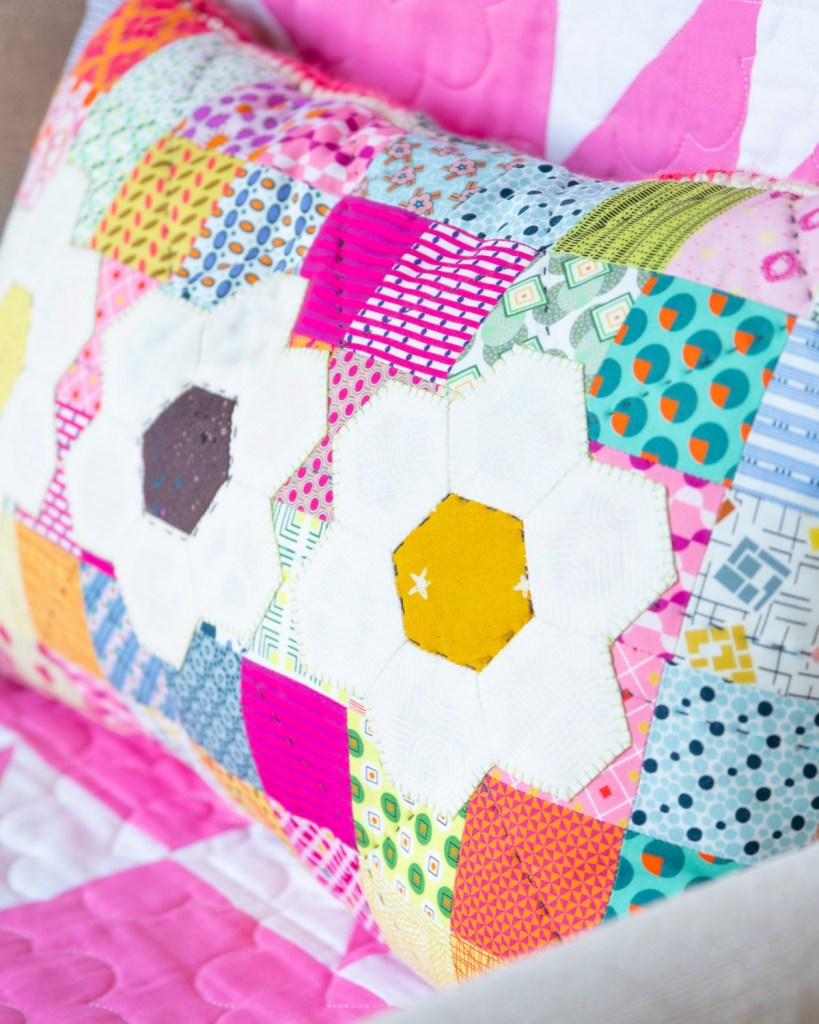
And honestly? There’s nothing quite like watching a pile of tiny shapes turn into something beautiful, one stitch at a time. You can add EPP shapes as accents to larger projects or make an entire quilt using English Paper Piecing only! The options are limitless.!
I always have my EPP Hexie kit with me. Just a small box of the supplies I need when I have some downtime…its the best. I have a collection of hexie flowers ready and waiting at all times!
Ready to Try It?
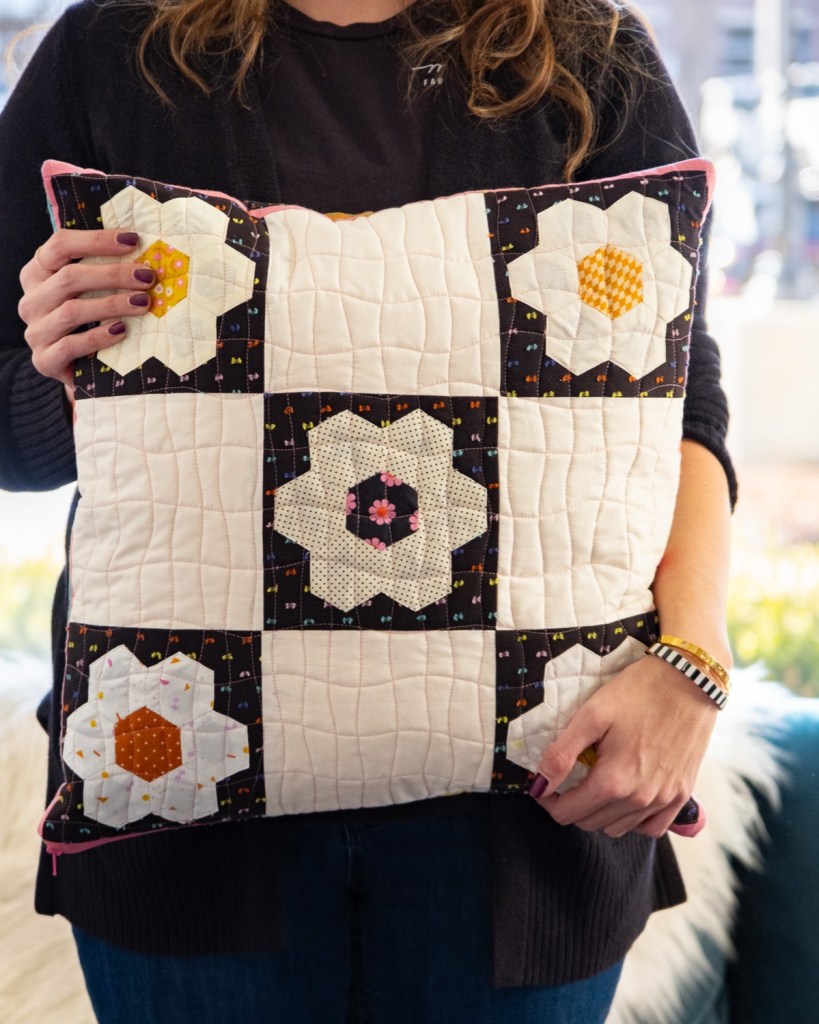
Start small—maybe a simple hexie flower or a cushion. Don’t overthink it.
Pick a fabric you love, grab a needle and thread, and just begin. And if you’re anything like me… you’ll look up a few hours later with a little pile of stitched pieces and absolutely no regrets.


Leave a comment